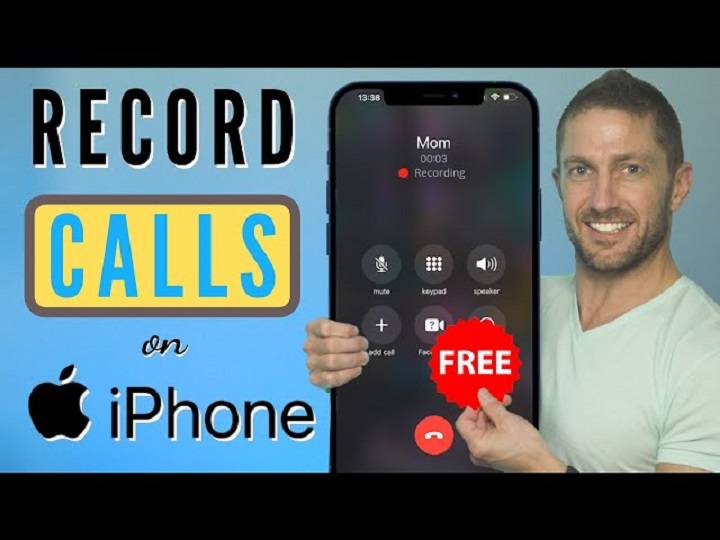
In today’s digital age, the ability to record phone calls on your iPhone can be invaluable. Whether you’re conducting interviews, capturing important conversations, or simply keeping a record for future reference, having the right tools and knowledge at your disposal is crucial. In this comprehensive guide, we’ll explore various methods and techniques for recording phone calls on your iPhone, ensuring you have the information you need to confidently tackle this task.
Understanding Legal Considerations
Before diving into the technical aspects of recording phone calls on your iPhone, it’s essential to understand the legal implications. The laws surrounding the recording of phone calls vary from country to country and even from state to state within certain countries. In many jurisdictions, it is illegal to record phone calls without the consent of all parties involved. Be sure to familiarize yourself with the laws in your area before proceeding.
Built-in Call Recording Features
Apple’s iOS does not natively support call recording, which means there’s no built-in feature for capturing phone conversations. However, there are still ways to achieve this functionality through third-party apps and accessories. Let’s explore some of the most popular options:
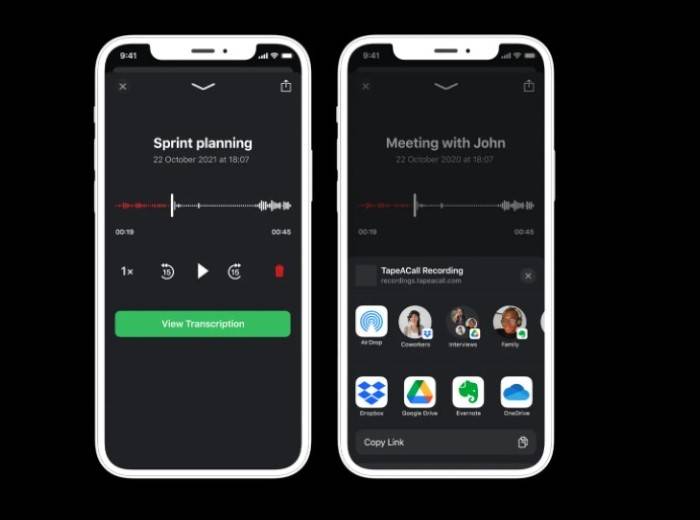
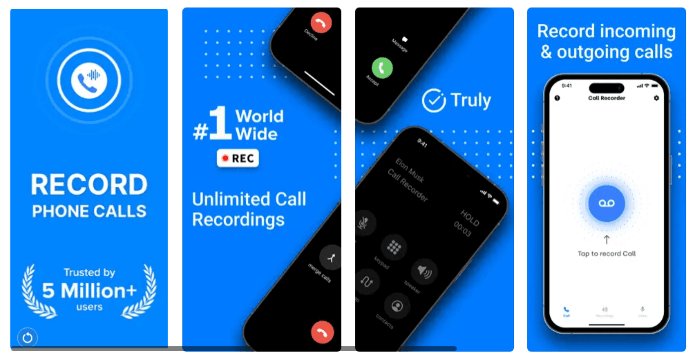
- Third-Party Call Recording Apps: Several third-party apps available on the App Store offer call recording functionality. These apps typically work by routing your calls through their servers, where they are recorded and then made available for playback. Some popular options include TapeACall, Call Recorder, and Rev Call Recorder.
- Using VoIP Services: Voice over Internet Protocol (VoIP) services like Skype and Google Voice often include built-in call recording features. By making calls through these platforms, you can easily record your conversations without the need for additional apps or accessories.
- External Recording Devices: If you prefer a more traditional approach, external recording devices like digital voice recorders or call recording adapters can be used in conjunction with your iPhone. These devices typically connect to your phone’s audio jack or Lightning port, allowing you to capture both sides of the conversation.
Setting Up Third-Party Call Recording Apps
If you’ve decided to use a third-party call recording app to capture your phone calls, the setup process is relatively straightforward. Here’s a step-by-step guide:
- Choose and Download an App: Start by browsing the App Store and selecting a call recording app that meets your needs. Pay attention to user reviews and ratings to ensure you’re downloading a reputable app.
- Grant Necessary Permissions: Once the app is installed, you may need to grant it permissions to access your phone’s microphone and make outgoing calls. Follow the on-screen prompts to complete this setup process.
- Initiate Call Recording: With the app installed and permissions granted, you’re ready to start recording calls. Depending on the app you’ve chosen, this may involve initiating calls directly from within the app or enabling automatic call recording for all outgoing and incoming calls.
Tips for Successful Call Recording
Recording phone calls on your iPhone can be a straightforward process, but there are some tips and best practices to keep in mind to ensure successful recordings:
- Ensure Sufficient Storage Space: Before initiating a call recording, make sure your iPhone has enough available storage space to accommodate the audio file. Running out of space mid-recording can result in lost or corrupted data.
- Use a Stable Connection: To minimize the risk of dropped calls or poor audio quality, ensure you have a stable cellular or Wi-Fi connection before starting the recording. Recording over a weak or unstable connection can lead to incomplete or unusable recordings.
- Notify Call Participants: Depending on the legal requirements in your area, it may be necessary to inform all parties involved in the call that the conversation is being recorded. Failing to do so could result in legal consequences.
- Test Recording Before Important Calls: Before relying on call recording for important conversations, take the time to test the recording functionality with a trial call. This will help you familiarize yourself with the process and ensure everything is working correctly.
Managing Recorded Calls
Once you’ve successfully recorded a phone call on your iPhone, you’ll need to know how to manage and access the recorded audio files. Here are some tips for effectively managing your recorded calls:
- Organize Files by Date or Contact: Depending on the call recording app you’re using, recorded calls may be automatically organized by date or contact. Take advantage of these organizational features to quickly locate specific recordings when needed.
- Backup Important Recordings: To prevent loss of important recordings, consider backing them up to a cloud storage service like iCloud or Dropbox. This will ensure your recordings are safely stored and accessible from any device.
- Delete Unnecessary Recordings: Regularly review your recorded calls and delete any files that are no longer needed. This will help free up storage space on your iPhone and keep your call recording library organized.
Recording phone calls on your iPhone can be a valuable tool for capturing important conversations and ensuring you have a record of key information. By understanding the legal considerations, exploring different recording methods, and following best practices for successful recording, you can confidently harness the power of call recording on your iPhone. Whether for professional or personal use, having the ability to record phone calls gives you greater control and peace of mind in your communications.


